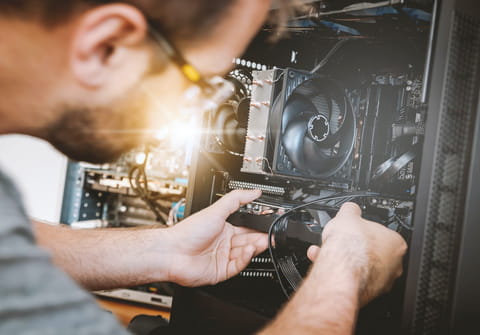
Change the motherboard battery: with power on

The motherboard of PCs and laptops contains a battery that runs the CMOS (complementary metal-oxide-semiconductor) and keeps the computer's clock accurate. Although it may not seem vital to the operation of the computer in principle, many problems and errors result from the wear and tear of this battery. In this article, we explain how and when to change the motherboard battery.
What the battery on the motherboard is for?
As we were saying, this battery is what makes the Real Time Clock (RTC) work, where the date and time settings are saved, as well as the hardware parameters of your PC, such as the hard disk, memory, cache and other BIOS belonging. The BIOS is a firmware of vital importance since it is in charge of indicating to the software of your computer how the hardware of the same one works.
Although you can turn on your computer even if the battery doesn't work if this fails you will have to reconfigure the settings every time you start the computer, which is not very practical. Therefore, it is convenient to be attentive and change it when it shows signs of exhaustion.
When to change the battery?
Your PC will show you that the motherboard battery needs to be changed when certain problems occur, including:
1) The delay or failure in the date and time of the equipment
2) Error messages such as the following:
- "CMOS Read Error"
- "BIOS CMOS checksum error"
- "CMOS Battery Failure"
- "BIOS CMOS battery low cmos wrong memory size"
- "No operating system"
- "CPU overclocking failed"
- "New CPU has been installed"
Fortunately, motherboard batteries - especially the CR2032, the most common type - are fairly cheap and can be found in any electronics store, supermarket, etc.
How to change the battery?
To begin with, we recommend that you access the BIOS setup, read the screens and write down the default parameters since once you replace the battery, you will have to reconfigure them.
1. Locate the BIOS stack
The battery to be changed is usually a "button" type battery, which will have a flat, round shape. In older models, it sometimes looks like a small cylinder. It may be hidden by an extension card, flat connectors or cables that you will need to remove to gain full access. To locate it:
- Turn off the PC and unplug the plug and cables behind the CPU.
- Remove the cover or the housing and touch a metal object to discharge the static electricity. Anything you disconnect or move, be sure to write it down and reassemble it later.
- Once you find the battery, which may be in sight and at hand or held in some way, remove it carefully. Be cautious not to break the clip and if you see that it resists coming out, check with the manufacturer on how to do this.
2. Remove the old battery and install the new one
Place the CPU so that the motherboard is horizontal. Observe the direction of the battery (the positive pole is usually located in the visible part). There are different methods to remove the battery depending on the model of the motherboard, but as a general rule, avoid:
- Touching the other parts;
- Jumping the battery into the housing;
- Forcing it.
If the battery is not a coin cell, it may not be removed in the usual way, so be careful and follow the manufacturer's recommendations.
Finally, once you take it out, keep it and take it with you to the store where you buy the new one so that it is identical to the old one.
It should be relatively easy to put the new battery in once you take out the old one. However, before putting everything back in its place, make sure you have put the battery in the right direction and that it is well fitted (it should not move).
3. Reconfigure the CMOS values and set the clock
Once you have changed the battery and closed the case of your computer, you must reconfigure the BIOS (in case you have changed the factory settings), as it will return to the default values. To do this:
- Start the PC;
- Enter the BIOS;
- Set the date and time;
- Verify that all the parameters noted at the beginning are correct and if not, correct them;
- Exit after saving the changes.
Congratulations! Now it’s good as new!
