How To Configure a Joystick on Your PC
In this article, you will learn how to configure a joystick (of any type) on a PC.
How To Configure Joystick on PC
- To play PC games.
- Used as a remote control for some multimedia applications (XBMC)
- Replace the mouse.
Required softwares
You will need to download and install the appropriate software. There are many, such as:
In this article we shall demonstrate Xpadder.
- Download and install the software.
- Connect your Joystick and make sure that it is detected/recognized by your PC.
- Run the software.
- A window will then appear:
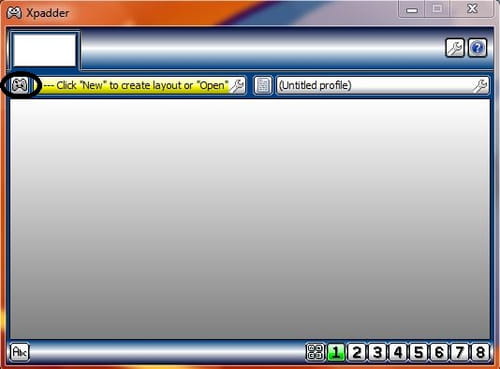
- Click on the joystick icon in the upper left.
- A new window will appear:
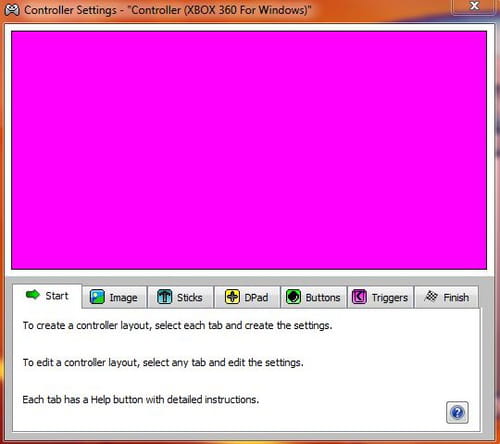
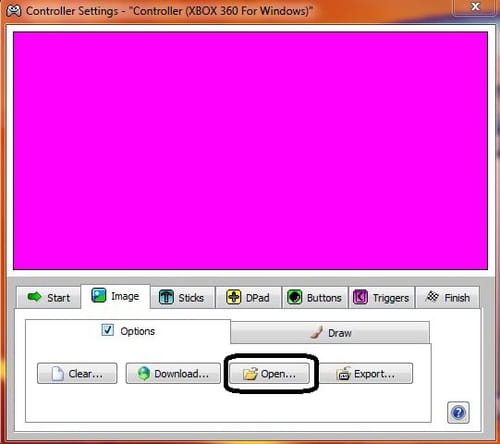
- Go to the Image tab (step not required).
- Click "Open" and choose the image of your controller if it is available (the folder containing the images is called "controllerimage").
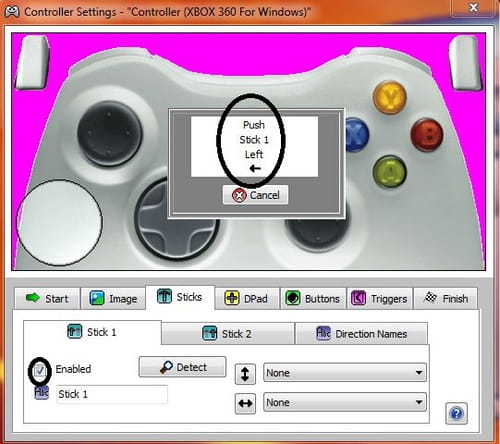
- Then go to the "Stick" tab (if your controller possesses analog sticks).
- Check the "enabled" box for the stick 1 and 2 (depending on the type of controller used) and make the requested operations.
- Go to the "DPad" tab (if your controller has a directional pad) and choose your settings.
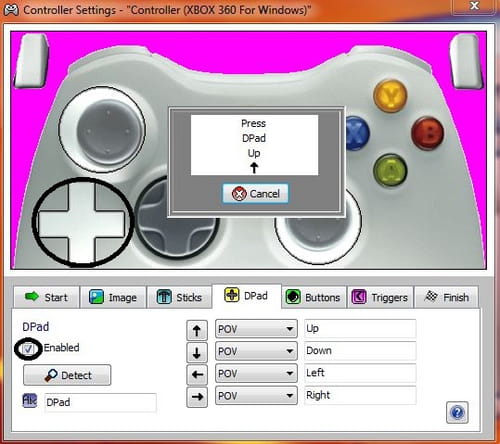
- Go to the "buttons" tab.
- Configure your buttons layout. Each time you press a button a small square will be displayed, move the square in order to fit the current button layout of your Joystick.
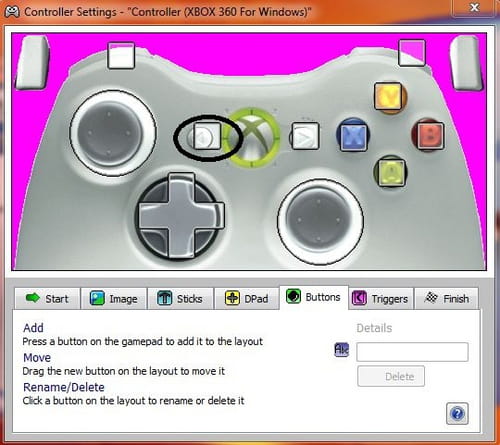
- Go to the "Trigger" tab (for joystick equipped with triggers) and set their layout.
- Go to the "Finish" tab and click "close".
Now you will need to configure these buttons!
- A window of this type appears:
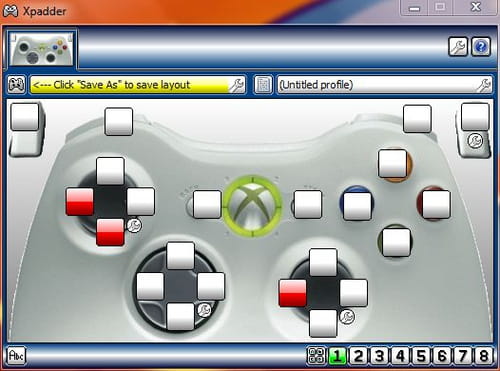
- To configure a button, click on it and a virtual keyboard appears (select the appropriate action)

- The software also provide some pre-installed configuration.
- Click and confirm "arrows mouse" to control the mouse with the joystick.
- Save your settings and as soon as your controller is connected, the configuration is effective.
Note that:
- To access the pre-installed configurations of the software, go to the "profiles" folder.
- The software does not work if the PC does not recognize the controller.
Image: © Amikishiyev - 123rf.com


