


SonicWall NetExtender is an SSL VPN (Secure Sockets Layer Virtual Private Network) that allows remote users to establish a secure connection to a remote network. On this page, we discuss some of the VPN's key features, as well as some additional information.
What is SonicWall NetExtender?
SonicWall NetExtender is an application that facilitates a secure solution for remote machines to connect to a company network. Once this connection is set up, users will have the same rights and access possibilities as if they were connected to the network natively. The software is available to Windows and Linux users.
What are the key features of SonicWall NetExtender?
-
Enforce security: Combining SonicWall NetExtender with SonicWall Capture Client allows administrators to require every remote user to have the latest versions of anti-virus and anti-spyware software in order to optimize the internal security.
-
Operating systems: SonicWall NetExtender is perfect for big companies as it is not limited by a given operating system. This means that no matter the operating system of remote users, their computers will support the VPN.
-
Comfort: With SonicWall NetExtender, remote users will be able to upload/download files, mount network drives and access resources just like if they were using the local network. For the connection, NetExtender uses a Point-to-Point Protocol (PPP).
-
Standalone client: Because it is a browser-installed lightweight application, NetExtender doesn’t require any manual installation. In fact, when the user launches NetExtender for the first time, the stand-alone client is automatically installed on their computer.
How does SonicWall NetExtender work?
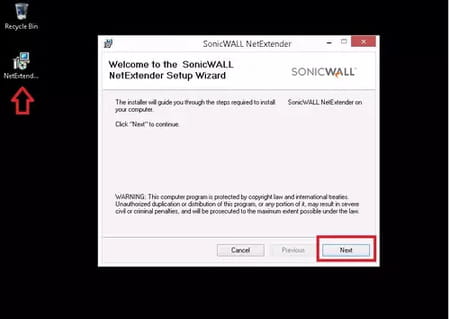
- After installing the application, simply open it by heading to Start > SonicWall NetExtender (Windows) or by selecting it after running the Run command (Linux).
- Subsequently, fill in the Server, Username, Password and Domain fields according to the credentials provided by your remote network.
- In order to remember your login details, make sure to select Save user name & password if server allows from the dropdown menu.
- Ultimately, click on Connect to access the remote environment.
- You may receive a security alert the first time you use the application. In case you do, you can safely click the Always Trust option.
Is it free?
Yes, you can use it for free.
Is it safe?
It seems that the app has no history of security issues or data breaches. As always, we recommend reading the official Privacy policy before installing.
- Netextender download
- Sonicwall netextender download
- Sonicwall netextender download for windows 10
- FL Studio 21 > Download - Musical production
- Microsoft Store > Download - App downloads
- BandLab > Download - Musical production
- NFS: Most Wanted (2005): download for PC > Download - Racing
- EA SPORTS FC 24 > Download - Sports