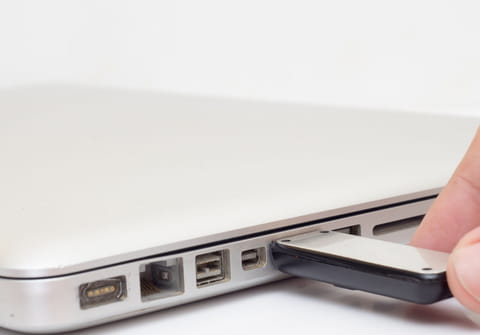
Add a high speed USB host controller

Many devices need to be connected to a high-speed port to work properly and so in this article, we will show you how to install a high speed USB host controller.
When connecting a USB 2.0 device, Windows displays the following message:
"Install a high-speed USB host controller" or "This device will function at reduced speed if you do not have a high-speed controller installed on your computer" or other similar messages. This message indicates that the USB port on your computer is recognized as a USB 1.0 or 1.1. Here are the major steps to add a high-speed host controller:
How to install a high-speed USB host controller?
Step 1: Identify the type of USB port on the machine
- Open the Control Panel, double-click System, then the Hardware tab click "Device Manager".
- Expand "Serial Bus Controller" (possibly also "USB Root Hub").
- If the words "USB 2.0" or "advanced USB Controller" is specified, then it is USB 2.0. If "USB Standard" is started, then it's USB 1.0 or USB 1.1.
Another solution is to use a software: Everest or SIW.
Step 2: Install the drivers
If it is a USB 2.0, make sure you have installed the latest drivers from the motherboard. Check if a BIOS update is available for your motherboard. Also, check if drivers for the chipset on the motherboard are up-to-date. For Windows OS prior to Service Pack 2, there is also a patch to integrate the USB 2.0 support.
Step 3: Modify parameters of root controller
In the Device Manager, double-click on the "USB Root Hub", and uncheck "Allow the computer to turn off this device to save power"
Step 4: Using a powered hub
Installing a USB Hub with its own power supply allows you to connect multiple devices with a single cable, but it can also amplify the signal.
Step 5: Add a USB broadband
If your computer is only equipped with low-speed USB ports, it will be necessary to buy an additional card with USB 2.0. For laptops, PCMCIA cards can be added and for desktop PCs, PCI cards can be added.

