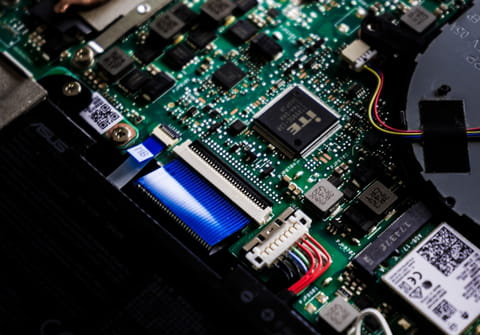
How to flash Acer Aspire BIOS: from USB

The BIOS (Basic Input Output System) is the program that gets the computer started after you have turned it off. It tells your PC how to how to interact with some basic hardware and run the operating system. On occasion it may be necessary to flash your BIOS to resolve a problem that your PC is having, this article will explain how.
What is flashing the BIOS?
Flashing is another way of saying updating with a new program. You need to be very careful doing this as if you have any problems during the process, you could be left with a computer that won't boot.
How to flash the BIOS?
This guide will explain the procedure of Flashing the BIOS. We will use the example of an Acer Aspire laptop. Other brands methods may differ, however the majority of Windows devices should follow a similar process.
- Format a USB memory key with the FAT mode.
- Download the latest version of the BIOS from Acer support website:
- You will have to enter your model number to get the correct version for your Acer laptop.
- Extract the files from the zip and put both the FLASHIT.EXE and the BIOS file in the root directory of the memory key.
- Rename the BIOS file to ZG5IA32.FD and then remove the disk.
- Turn the laptop off, insert the battery and connect the AC adapter.
- Insert the USB Memory Stick into one of the USB port of the Aspire laptop.
- Press Fn+Esc, keep it pressed and press the power button to turn the laptop on.
- Release Fn+Esc after a few seconds, the power button will be blinking.
- Press the power button once. The laptop will start the BIOS flash, do not interrupt for any reason. After some minutes the power button will stop blinking, and then the laptop will reboot. Wait till it has completed all these operations.
Any more BIOS questions? Check out our forum!
Subject
Replies

