
How to make a video tutorial

Video tutorials have become an increasingly popular learning tool. They can not only help others but you can also promote your business and monetize your efforts. In this article, we explain how to make the perfect video tutorial, so read on!
Why researching a topic is important?
Although it is assumed that you already have in-depth knowledge of the topic that you want to do your video tutorial about, it never hurts to review the latest information available about the subject, especially when it is a technical subject. Being up to date with the latest materials, programs or tools will make your video stay up to date for longer and give you some important credibility.
Also, consider getting information from the people around you, or taking a walk on social networks about which topics are of interest within your specialty, this way you will be able to reach a larger audience.
It is a good idea to make a short, but well-structured script to follow so you don’t forget anything important, that you stay on topic, and make sure you have all of the elements (tools, ingredients, items, objects, lighting, etc.) necessary for your video.
What tools do you need?
Remember that in order to make a professional-looking video, you will need to have certain tools. They do not need to be expensive: in fact, there are plenty of free programs. However, you will need to have access to these before getting started. Here’s a list of the indispensable ones:
A Screen Recorder
In case you need your audience to see your computer screen, this is especially useful when you are explaining computer programs, video, or photo editing. We recommend:
- Aviscreen: Allows you to record your computer screen in .AVI format and take screenshots in JPG.
- CamStudio: Allows you to stream the screen in .AVI format and it's free.
- Jing: in addition to recording our screen, we can take screenshots.
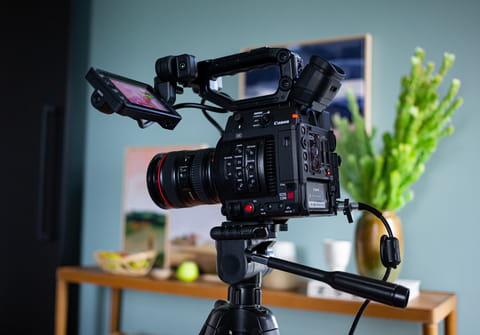
Camera
If you plan on filming a video, and not just using screen capture for your tutorials, such as a make-up video, a recipe, or something else, then you will need a camera. Nowadays most mobile phones have decent cameras and will be a good starting point until you know whether or not your videos are successful. Alternatively, if you already have access to a stand-alone camera, then use this.
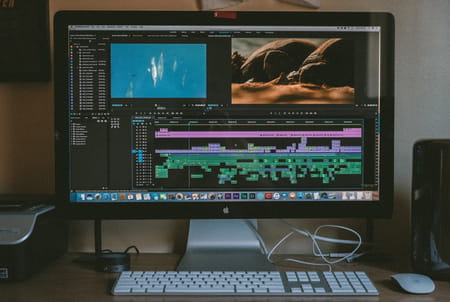
Video Editor
You will need a program to edit the images, include the audio, improve the sound, add effects, etc. We recommend you:
- Filmora: Very powerful and easy to use, it has a free version and a relatively heap pro version.
- Pinnacle Studio Plus: Allows you to import all kinds of material, both from digital cameras and smartphones, as well as from video players and analog cameras connected to the PC. It has more than a thousand filters and effects.
- VideoPad: Its reduced version is free, is very intuitive, and has many effects and transitions.
Audio Editor
It may be preferable to add the audio separately to the video recording to improve the audio quality, correct diction problems or mistakes, eliminate echo or background noise. We recommend:
- Audacity: The most popular, professional, and totally free.
- Wavepad Sound Editor: A powerful free music file editor.
Microphone
If your computer or mobile device has a comprehensive microphone, then you could use that. We recommend that you use a decent microphone to achieve a more professional result - a bad audio quality will quickly put off users and viewers. Today there are many cheap microphones available, such as Tonor Microphone or EIVOTOR.
What are some recording tips?
Now that you have established your topic, your script, and the necessary recording and editing tools, it is time to start recording your video. You will want to make sure that you are in a quiet place, free from interruptions (car noise, neighbors, roommates), and record it all on the same day, and time for continuity reasons. The video will look jarring if you randomly change outfits halfway through (unless this is part of it), and if the lighting changes drastically during.
A good idea is to start with a short test recording before committing to a longer recording. Why? Because the test will allow you to carefully analyze the footage and establish what is and isn’t working, so you can get them right in the final version. For example, where you place the microphone in relation to yourself, where you are positioned in the frame - the test will save you from repeating the entire video if one of these elements is wrong.
Regarding the type of recording, we advise you to shoot at a minimum of 30 frames per second, and in the highest possible quality. And finally, as we explained previously, it is best to record the audio separately. If you record the video latest you can make a clearer and more focused explanation without getting distracted by the script, or from what you are recording.
What are some editing tips?
Typically with tutorials, there won’t be an excessive amount of recording because the videos are step-to-step guides and recorded in chronological order. You may want to consider removing long parts that your viewer doesn’t need (for example, if you are cooking - the time the cake is baking in the oven, or the time a video renders).
Also, bear in mind quality over quantity. Try to make the video as concise as possible, since people are generally in a hurry and prefer to watch a 5-minute explanation over a 20 minute one. If you need to make a longer video for a complex procedure, consider making a part 1, and part 2.
In addition, we recommend that you add a teaser, or some footage of the end result at the beginning of the video so that your audience knows what to expect. People value their time and like to know in advance if a tutorial is going to solve their problem. You should also think about the thumbnail (the preview of the video that people will see).
Finally, you will need to export and upload your video once it is finished. We recommend using MP4 as your format, and the highest quality supported by your editing software. People can always reduce the quality of the video if they want to, but there is no way of improving the quality once it is already uploaded.