
Mirror iPhone to PC: via bluetooth, without software

Apple's AirPlay technology enables you to mirror the screen of your iPhone, iPad, or iPod Touch to other AirPlay compatible devices. But if you would like to take advantage of this technology on a Windows PC, additional steps are required. This guide will teach you how to emulate AirPlay on a Windows PC.
Can you screen mirror iPhone to PC via bluetooth?
Unfortunately no, you cannot use bluetooth to screen mirror from your iPhone to a PC as bluetooth isn't powerful, or fast enough. It is possible with WiFi, USB, mobile data, or Chromecast (which uses WiFi).
Is it possible to screen mirror from iPhone to PC without software?
Again, unfortunately no. You will need download a tool or software to be able to screen mirror from your iPhone to your PC. Below we give two examples of how to mirror your iPhone to your PC with Reflector 3 and LonelyScreen that allow you to emulate AirPlay on your computer.
How to emulate AirPlay on a Windows PC?
Enable AirPlay with Reflector 3
-
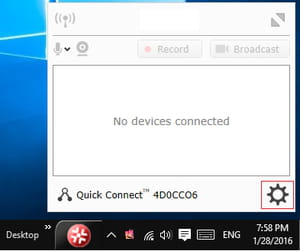
Open Reflector 3 and select the Try Reflector 3 option to activate your free 7-day trial. Reflector 2 will create a shortcut in the Windows taskbar. Right-click on the shortcut and select Settings > Show Preferences:
-
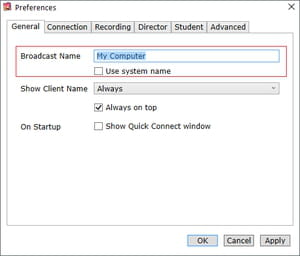
Go to the General tab and select a Broadcast Name:
-
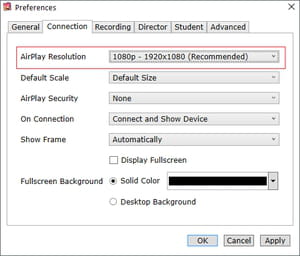
Next, head to the Connection tab and select the desired AirPlay Resolution:
-
Now go to the Advanced tab and enable AirPlay:
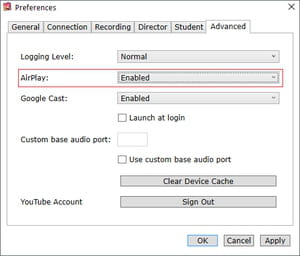
-
Click on Apply > OK to enable AirPlay on your computer.
Enable AirPlay with LonelyScreen
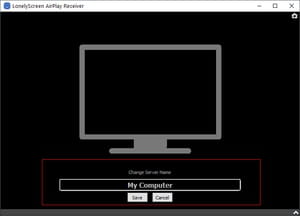
LonelyScreen is a free application that will transform your computer into an AirPlay receiver - no complex configuration is required.
-
Launch the program, select a server name and click on Save to enable AirPlay on your computer:
How to mirror your iOS device to a computer?
-
Once you have installed and configured the desired software on your computer, it's time to connect your computer and iOS device to the same WiFi network.
-
Once done, enable AirPlay on your iOS device and allow it to search for compatible devices.
-
Select your computer from the list of devices. Toggle the Mirroring option On and wait until the connection is established.