
Add and edit images in Google Docs: rotate, resize, adjust


Partager
Google Docs offers a wide range of editing tools to crop, rotate or highlight the images present in your documents, and in this tutorial we will learn how to use them.
How to insert images in Google Docs?
There are two methods to insert images in a document created with Google Docs, you can either drag the picture directly into the document or click on the Insert menu > Image.
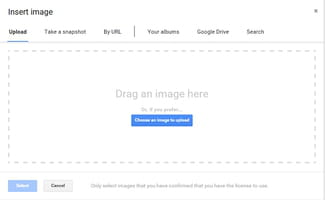
The second method gives you access to additional features, such as:
- Uploading an image from your computer.
- Selecting an image from another web page, using its URL.
- Taking a snapshot using the webcam of your computer.
- Selecting an image stored in Google Drive:
You can use the same procedure to insert images in your spreadsheets or presentation.
How to rotate or resize your images?
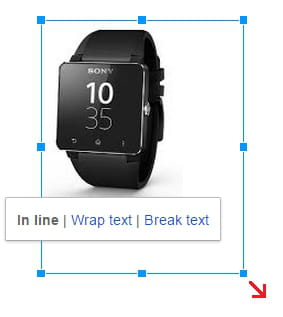
- Click on the image to display sizing handles.
- You can adjust the size of the image by using one of the sizing handles (represented by eight blue boxes). When you place your mouse cursor over a sizing handle it will change to a double-headed arrow, allowing the image to be resized horizontally, vertically or diagonally. To avoid distorted or stretched images, make use of the sizing handles located at the corners of the image:
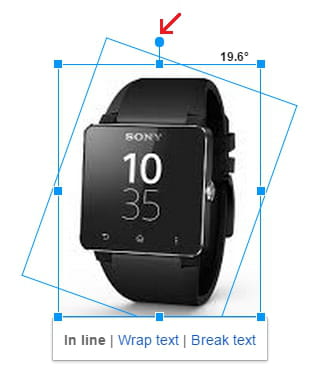
- The small handle at the top allows you to rotate the image.
How to crop your images in Google Docs?
To adjust the framing of an image or change its aspect ratio, simply click on the Format menu > Crop Image.
How to adjust the transparency of images?
You can adjust the transparency, contrast and brightness of your images, by clicking on the Format menu > Image Options.
Do you need more help with Google services? Check out our forum!